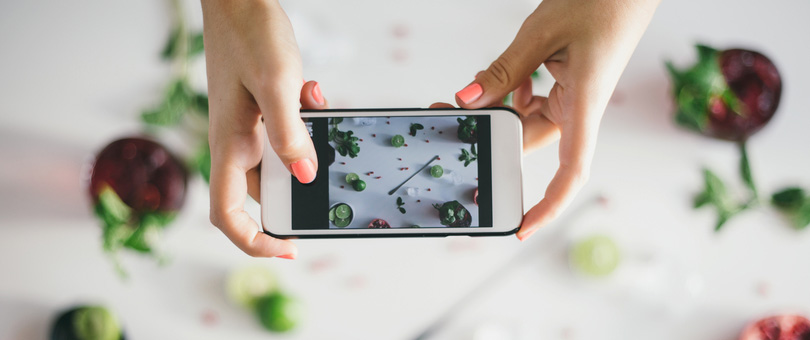
Before you spend money to rent a DSLR camera and a lens for your product photography, consider using the quality camera that you carry around with you all the time: your smartphone.
You may be thinking that using your smartphone for product photography sounds a bit crazy, but with today’s advances in technology, it’s absolutely feasible to create great product images by utilizing your smartphone’s advanced camera features and a tripod. This option is both budget and user-friendly – not to mention convenient!
Here's a step-by-step guide showing you exactly which tools and apps you'll need.
Getting ReadyStep One: Using Your Phone As A CameraMost smartphones in today’s market come equipped with great cameras. If you’re one of the many consumers who have purchased one of these devices, then you have a high quality DSLR alternative right at your fingertips!
Whichever smartphone you choose to use for the photoshoot, make sure that your device has autofocus and the maximum amount of megapixels possible. Once you have identified the phone you plan to use for the photoshoot, you’re ready to move on to the rest of this tutorial and learn about how to take great images from start to finish by utilizing your smartphone’s advanced camera capabilities.
Step Two: AccessoriesWith all of the different accessories and gadgets that can be used with smartphones, it can be hard to decipher what you actually need to achieve great images. We recommend using a backdrop, a table, a lighting setup, a stand or tripod, and a lens to help your images stand out!
1. BackdropUse a white or light gray backdrop behind your product to give your photographs a clean and consistent look and to eliminate distractions. You can create your own backdrop easily by using a sheet, rolled paper, foam board, or a wall. It is best to make a “sweep” so that your backdrop is not only behind the product, but underneath it as well. This will greatly speed up your post production workflow!
2. TableUtilize a table so that your product sits higher, which will make it easier for you to photograph your product during the photoshoot. Depending upon the type of image stabilization equipment you choose to use, it would be easy to prop your smartphone on the table as well.
3. LightThere are many options for lighting, but the easiest and most budget-friendly option to use is natural window light. Set up your product and equipment near a large window to allow for ample light in your frame. If natural light is difficult for you to find, try using a larger lamp or renting a softbox-type lighting kit, depending on how big your object may be.
4. Image StabilizationUsing soft natural lighting makes for beautiful product photos, but it often creates the need for image stabilization equipment, such as a stand or a tripod. Although smartphone cameras do contain internal image stabilization software, there will still be camera shake if you hand-hold your phone, resulting in blurry images.
For the best possible results, we recommend using a tripod.
Read Entire Article: https://www.shopify.com/blog/15163633-how-to-capture-high-quality-product-photos-with-your-smartphone
 RSS Feed
